A rubber band powered RC vehicle designed for ArtCenter Formula E race. This project explores form, prototyping, and testing to transform stored energy into motion.
TEAM PROJECT / SUMMER 2025 / 12 WEEKS
RC Vehicle Design / Mechanical Prototyping / Form Development / 3D Modeling / Performance Testing / Engineering Based


What is Formula E
Formula E is a ArtCenter GradID project where teams create a RC vehicle powered by a 16 foot rubber band. The goal is to turn stored elastic energy into controlled motion through mechanical design, prototyping, and race testing.
Project Deliverable
Including a functional race vehicle, team branding, and a presentation system. Communicating the performance strategy, mechanical development, and team identity.

Formula E has been part of ArtCenter’s Graduate Industrial Design culture for many years, with roots dating back to the 1980s. Since 2006, the race has been held annually in August, bringing GradID teams together to design, build, test, and race their own remote controlled vehicles.
ABOUT THE RACE

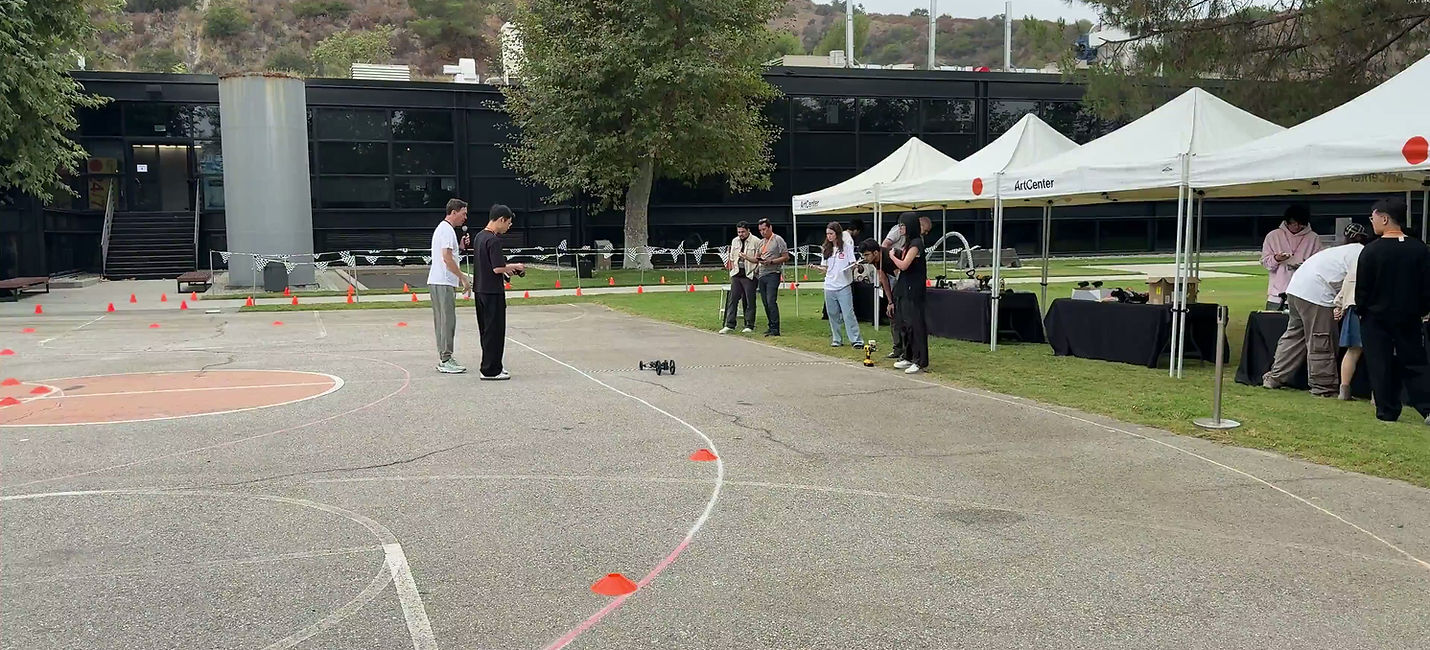
Track Layout
Basketball court scale
Length: 77'10"
Straight section: 45'10"
(designed to test steering control, acceleration, and vehicle balance / loop turns for speed and stability testing / tight center section with around 6'11" of clearance)
Relay Race
Three drivers each complete three laps, and the vehicle is rewound between drivers. The fastest nine consecutive laps determine the winner.
DEVELOPMENT PROCESS
Phase 1 — Learn the Basics
Research & First Functional Prototype
Phase 2 — Control the Power
Rubber Band Power & Drive System
Phase 3 — Modify the Frame
Drivetrain Alignment & Chassis
Phase 4 — Make It Turn
Steering & Front Geometry
Phase 5 — Tune for Race
System Integration & Race Tuning
Our process was divided into five phases, moving from basic research to full race testing. Each phase helped us improve one part of the vehicle system and bring the car closer to the final race performance.
Phase 1 — Learn the Basics

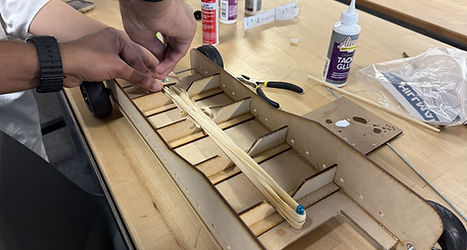


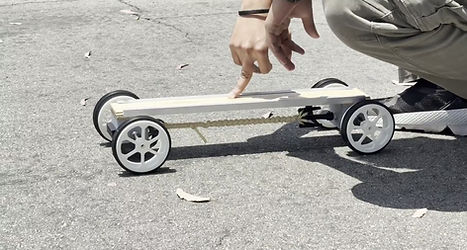
Research physics, wheel, chassis structure
Study how weight, friction, and track affect performance
Build the first 1:1 prototype for testing
Test the layout with the 16 foot rubber band
Find issues with weight, wheel, axle, and bearing
Use the first test to define what needed to be improved
Phase 2 — Control the Power
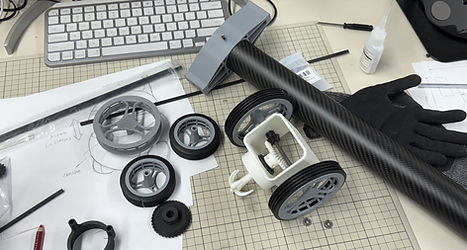


Shift toward a carbon fiber tube main chassis
Test clutch ideas for controlling energy release
Prototype rubber band holder and front hook
Explore gearbox design and gear ratio change
Test rubber band length, folds, and winding loops
Improve alignment to reduce slipping and energy loss
Phase 3 — Modify the Frame


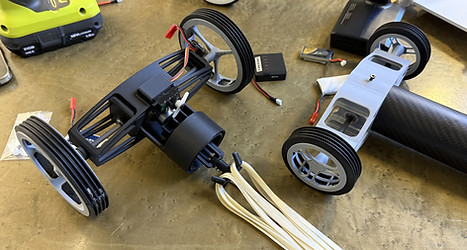

Test the torque transfer with bevel gear system
Study ball and thrust bearing housing tolerance
Reduce mass while keeping the structure strong
Add servo on clutch to manage braking and energy release
Run axial thrust and roll resistance tests
Test the movement and drivetrain smoothness
Phase 4 — Make It Turn

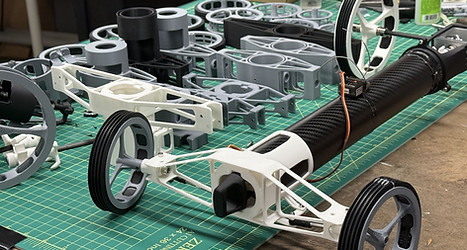


Use the A-arm front frame to improve steering
Test steering system and adjust toe angle
Refine the front frame and add vertical flexibility
Rubber band switch to double wrap to improve power and control
Strengthen the steering system and improve hub gear fixation
Test on racetrack to check stability, traction, and response
Phase 5 — Tune for Race


Tune front and rear axle balance and outer shell's form
Recalibrate the gear offset to reduce lateral drift
Test speed, straight-line distance, and turning radius
FINAL DESIGN




My Role
Team project. Focus on design ideation, 3D modeling, mechanical prototyping, chassis development, drivetrain testing, steering refinement, and race tuning.